
Harbor介绍与安装部署,并实现通过http和https协议【自签发SSL证书】访问,客户端如何通过Harbor镜像仓库实现镜像的上传【推送】与下载【拉取】。
Harbor介绍
Harbor,是一个英文单词,意思是港湾,港湾是干什么的呢,就是停放货物的,而货物呢,是装在集装箱中的,说到集装箱,就不得不提到Docker容器,因为docker容器的技术正是借鉴了集装箱的原理。所以,Harbor正是一个用于存储Docker镜像的企业级Registry服务。
Docker容器应用的开发和运行离不开可靠的镜像管理,虽然Docker官方也提供了公共的镜像仓库,但是从安全和效率等方面考虑,部署我们私有环境内的Registry也是非常必要的。Harbor是由VMware公司开源的企业级的Docker Registry管理项目,它包括权限管理(RBAC)、LDAP、日志审核、管理界面、自我注册、镜像复制和中文支持等功能。
机器规划
| 服务器名称(hostname) | 操作系统版本 | 内网IP | 外网IP(模拟) | 安装软件 |
|---|---|---|---|---|
| docker01 | CentOS7.7 | 172.16.1.31 | 10.0.0.31 | docker、Harbor |
| docker02 | CentOS7.7 | 172.16.1.32 | 10.0.0.32 | docker |
SSL证书创建
如果要使用https访问Harbor。那么请按照如下生成SSL证书。
创建根证书
1 | ## 创建CA私钥 |
genrsa 生成私钥
-out filename 标准输出到filename文件
req 生成证书请求
-new 生成新证书签署请求
-x509 专用于CA生成自签证书;不自签的时候不要加该选项
-days num 证书的有效期限
-key file 生成请求时用到的私钥文件
-out filename 标准输出到filename文件
subj内容详解:
1 | C = 国家 |
证书签发
1 | ## 创建私钥 |
生成结果如下图:
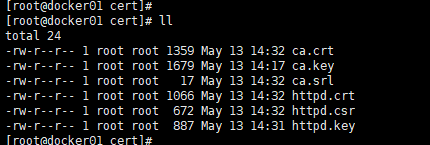
然后将httpd.key和httpd.crt,放到/etc/harbor/cert/目录下,后面会用到。
安装docker-ce
安装脚本如下
1 | [root@docker01 harbor]# pwd |
安装docker-compose
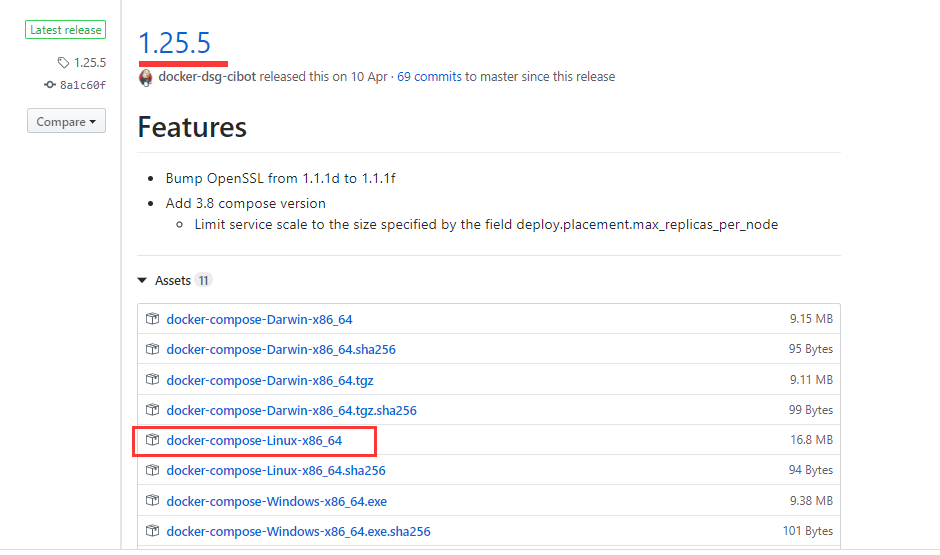
下载地址:
1 | https://github.com/docker/compose |
此次,我们使用的是 1.25.5 版本。
1 | [root@docker01 harbor]# ll |
安装Harbor私有仓库
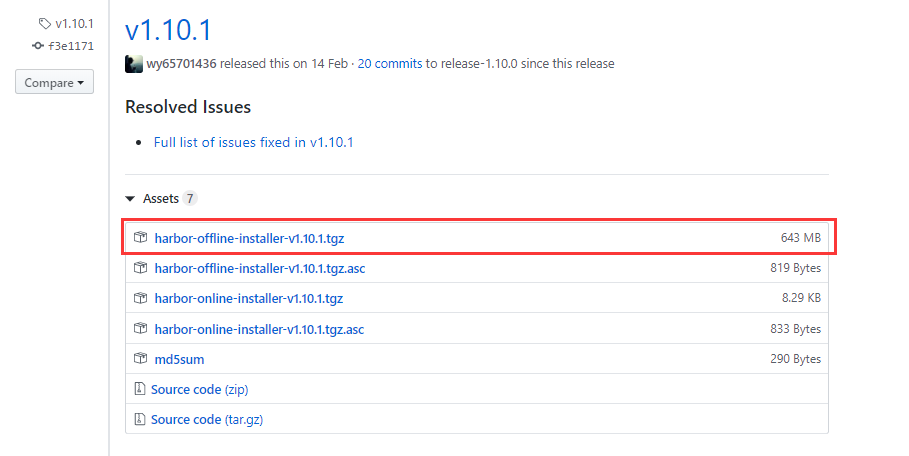
官网下载地址
1 | https://github.com/goharbor/harbor |
此次,我们使用的是 v1.10.1 版本。
1 | [root@docker01 harbor]# ll |
harbor.yml配置文件修改内容【http访问】
1 | # 这里的hostname怎么配置 |
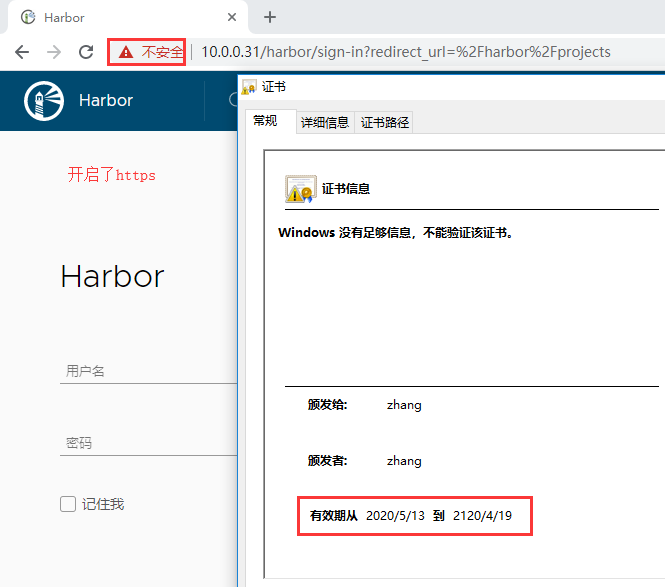
harbor.yml配置文件修改内容【https访问】
放开了https配置,证书是自签发的。
1 | # 这里的hostname怎么配置 |
如果使用了https协议且端口是443,那么当使用http访问时,会自动跳转到https。
部署Harbor
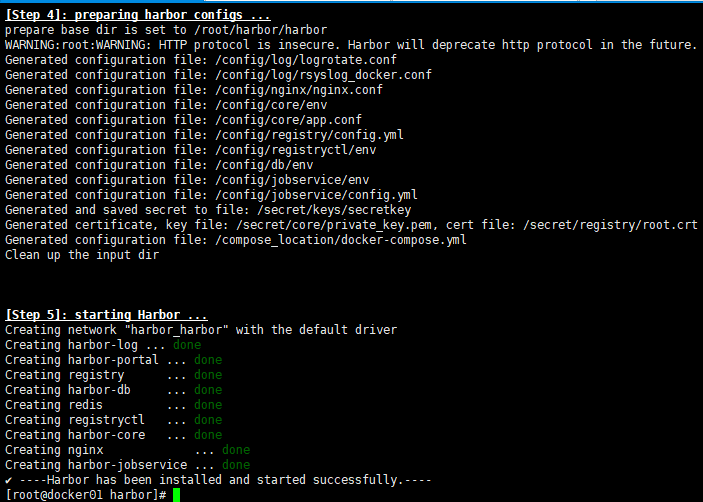
修改完配置文件后,在的当前目录执行./install.sh,Harbor服务就会根据当前目录下的docker-compose.yml开始下载依赖的镜像,检测并按照顺序依次启动。
1 | [root@docker01 harbor]# ll |
启动结果如下图
停止与启动Harbor
如果修改了Harbor的配置文件harbor.yml,因为Harbor是基于docker-compose服务编排的,我们可以使用docker-compose命令重启Harbor。
未修改配置文件,重启Harbor命令:docker-compose start | stop | restart
当然个人建议:如果修改了harbor.yml文件,那么停止使用docker-compose down,启动使用 ./install.sh 。
1 | ##### 停止Harbor |
镜像信息和容器信息
镜像信息和容器信息如下
1 | [root@docker01 ~]# docker images |
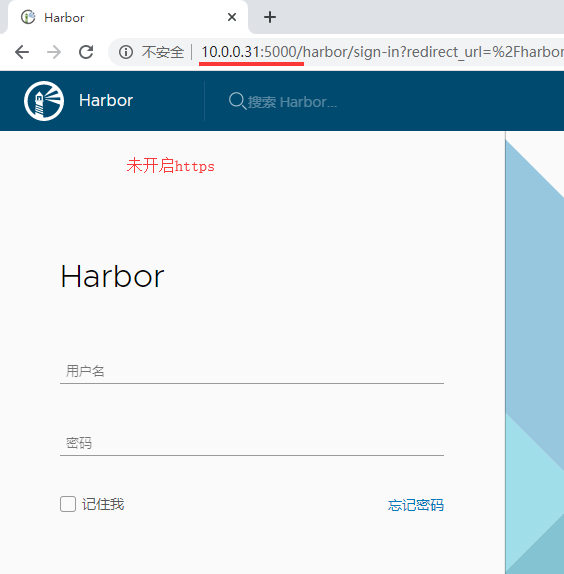
浏览器访问
访问地址如下:
1 | http 访问:http://10.0.0.31:5000/ 或则 http://172.16.1.31:5000/ |
备注:
1、由于我使用的Vmware虚拟机,因此10.0.0.0/24网段【模拟外网】和172.16.1.0/24网络【内网】都可以访问。生产环境是访问内网还是外网,视具体情况而定。
2、这里的访问地址和harbor.yml中配置的hostname值无关。
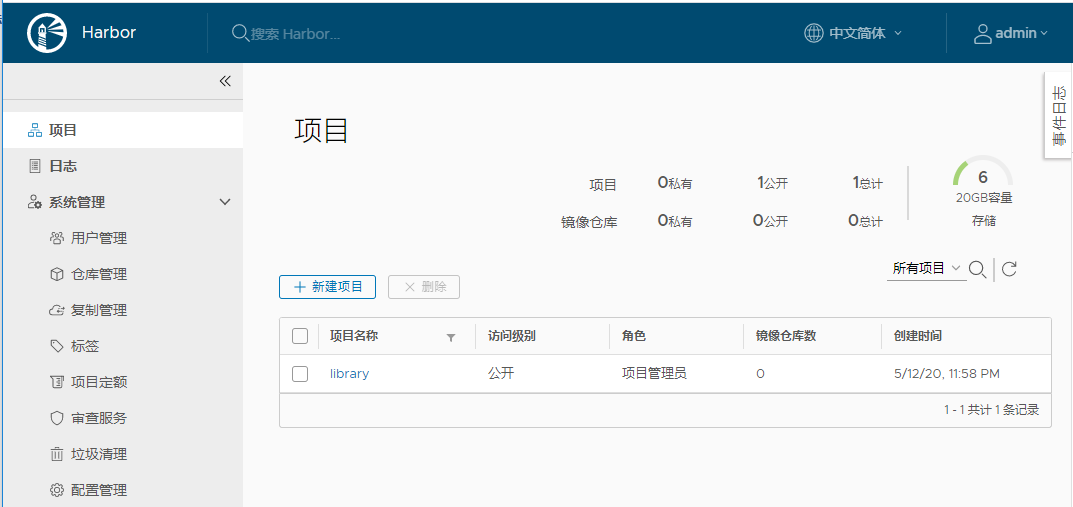
登录后页面
Harbor实现Docker镜像上传与下载
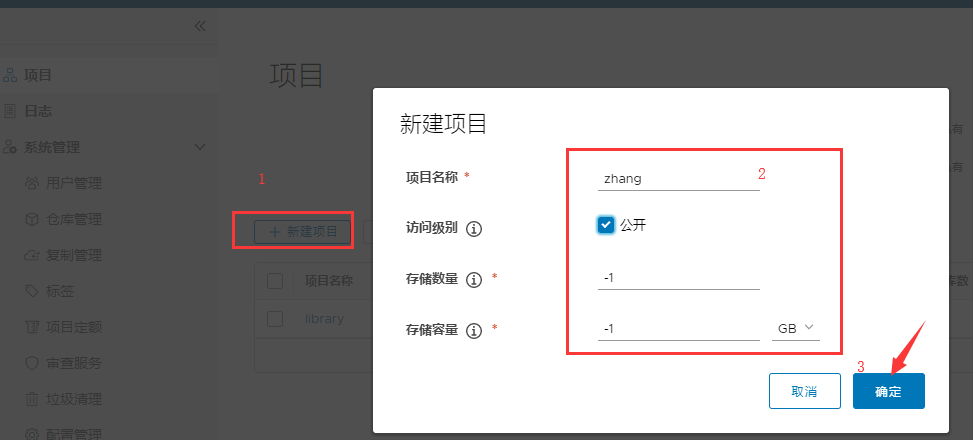
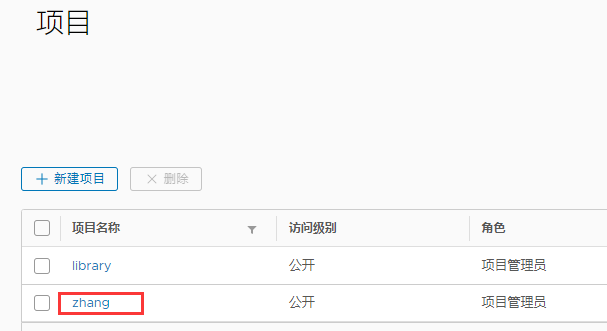
新建项目
根据你的项目名新建项目,这样才能将镜像推动到harbor镜像中心。
客户端http设置
Docker 默认不允许非 HTTPS 方式推送镜像。我们可以通过 Docker 的配置选项来取消这个限制。
如果直接【上传】或【拉取】镜像会失败,因为默认为https方式。
所有客户端都需要添加这个配置,然后重启 docker 服务。
1 | [root@docker01 ~]# vim /etc/docker/daemon.json |
添加了 “insecure-registries”: [“172.16.1.31:5000”] 这行,其中172.16.1.31为内网IP地址。该文件必须符合 json 规范,否则 Docker 将不能启动。
如果在Harbor所在的机器重启了docker服务,记得要重新启动Harbor。
客户端登录Harbor
客户端登录Harbor。
1 | # docker login 172.16.1.31:5000 -u admin -p Harbor12345 |
查看登录信息,这样客户端就可以直接拉取或者推送镜像了。
1 | [root@docker01 ~]# cat ~/.docker/config.json |
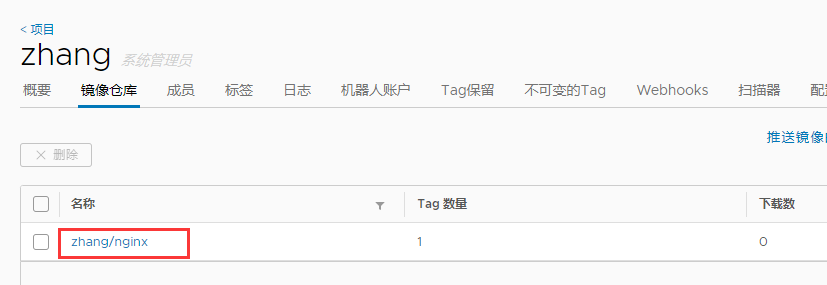
Docker push镜像上传
1 | [root@docker02 ~]# docker images |
说明:注意镜像名格式
Harbor页面信息
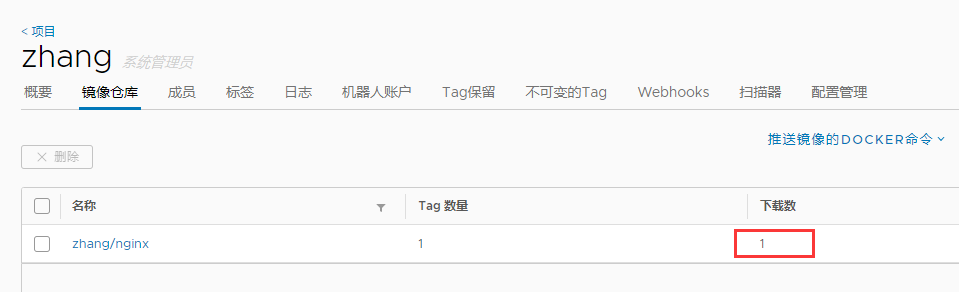
Docker pull镜像拉取
1 | [root@docker01 ~]# docker images | grep 'zhang/nginx' |
Harbor页面信息
完毕!